When you're building a form that accepts payments, most likely you'll need the form to automatically send a payment receipt to the clients. This can be done quite easily using the MachForm auto-responder functionality. You can fully customize the email template to suit your need.
However, if you're using Stripe, you can configure it so that the payment receipt email will be sent by Stripe directly, and you won't need to configure the auto-responder at all.
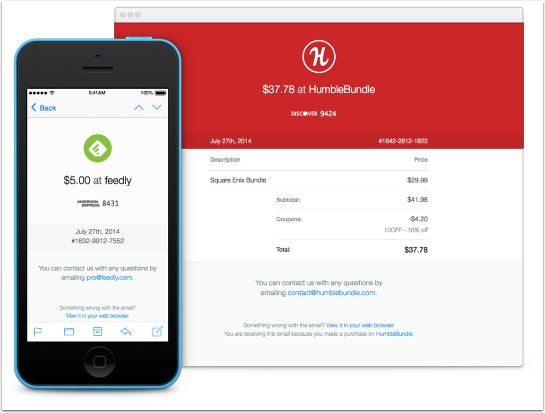
Customizable design
The email receipt provided by Stripe is customizable. You can easily change the receipt logo and color scheme, directly from your Stripe account.
Follow these steps to configure your form to use the Stripe receipt template:
1. Log in to your Stripe account
Go to https://dashboard.stripe.com/login to log in to your Stripe account.
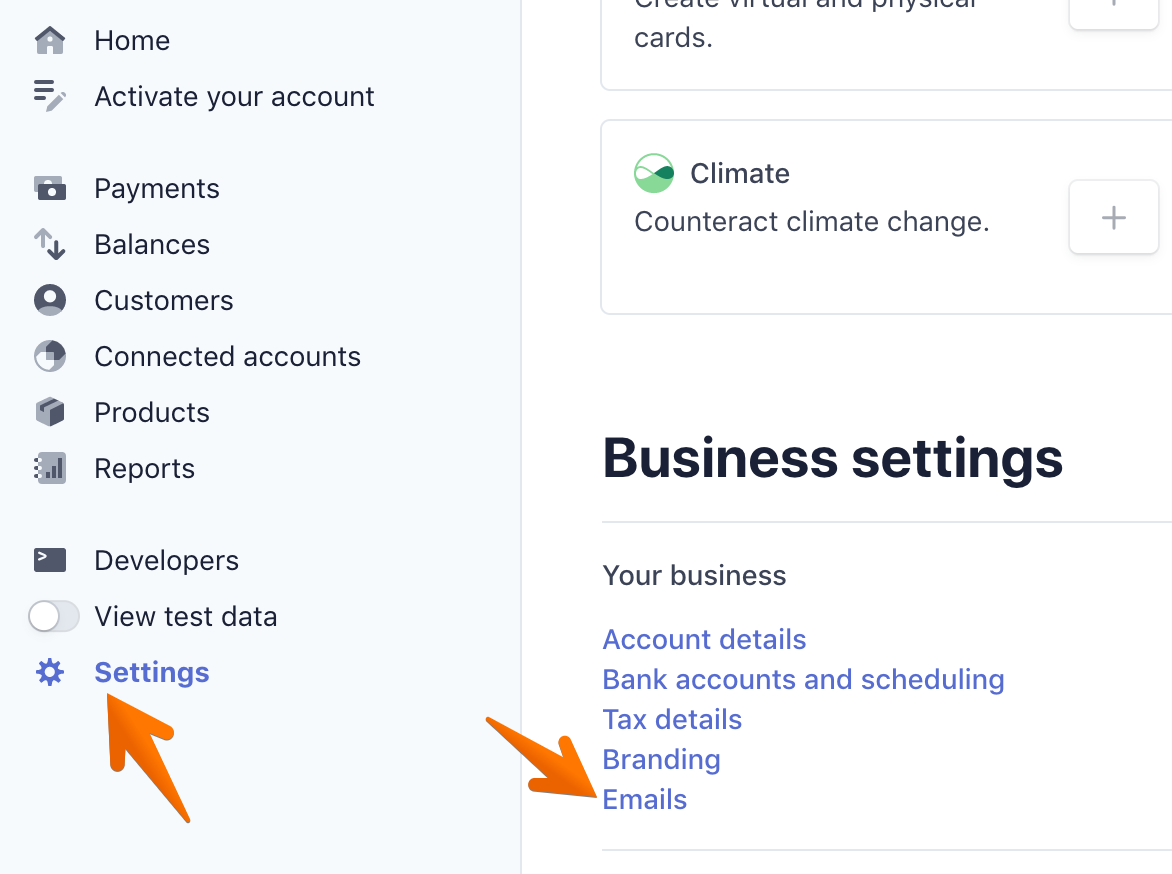
2. Go to Email receipt settings
Go to your email receipt settings page (Settings -> Business Settings -> Emails)
3. Turn on email receipt
Under customer emails section, make sure to enable the email customers for successful payments option.
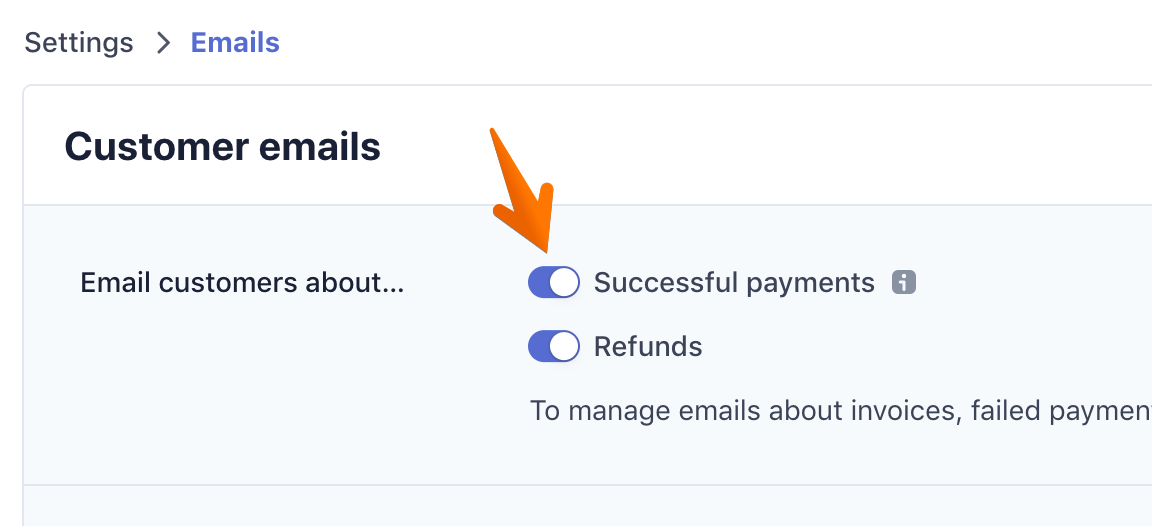
Click the Save button on that page once you've turned it on.
4. Customize email template
Go to your email branding page (Settings -> Business Settings -> Branding) to customize the logo and color scheme of the email receipt.
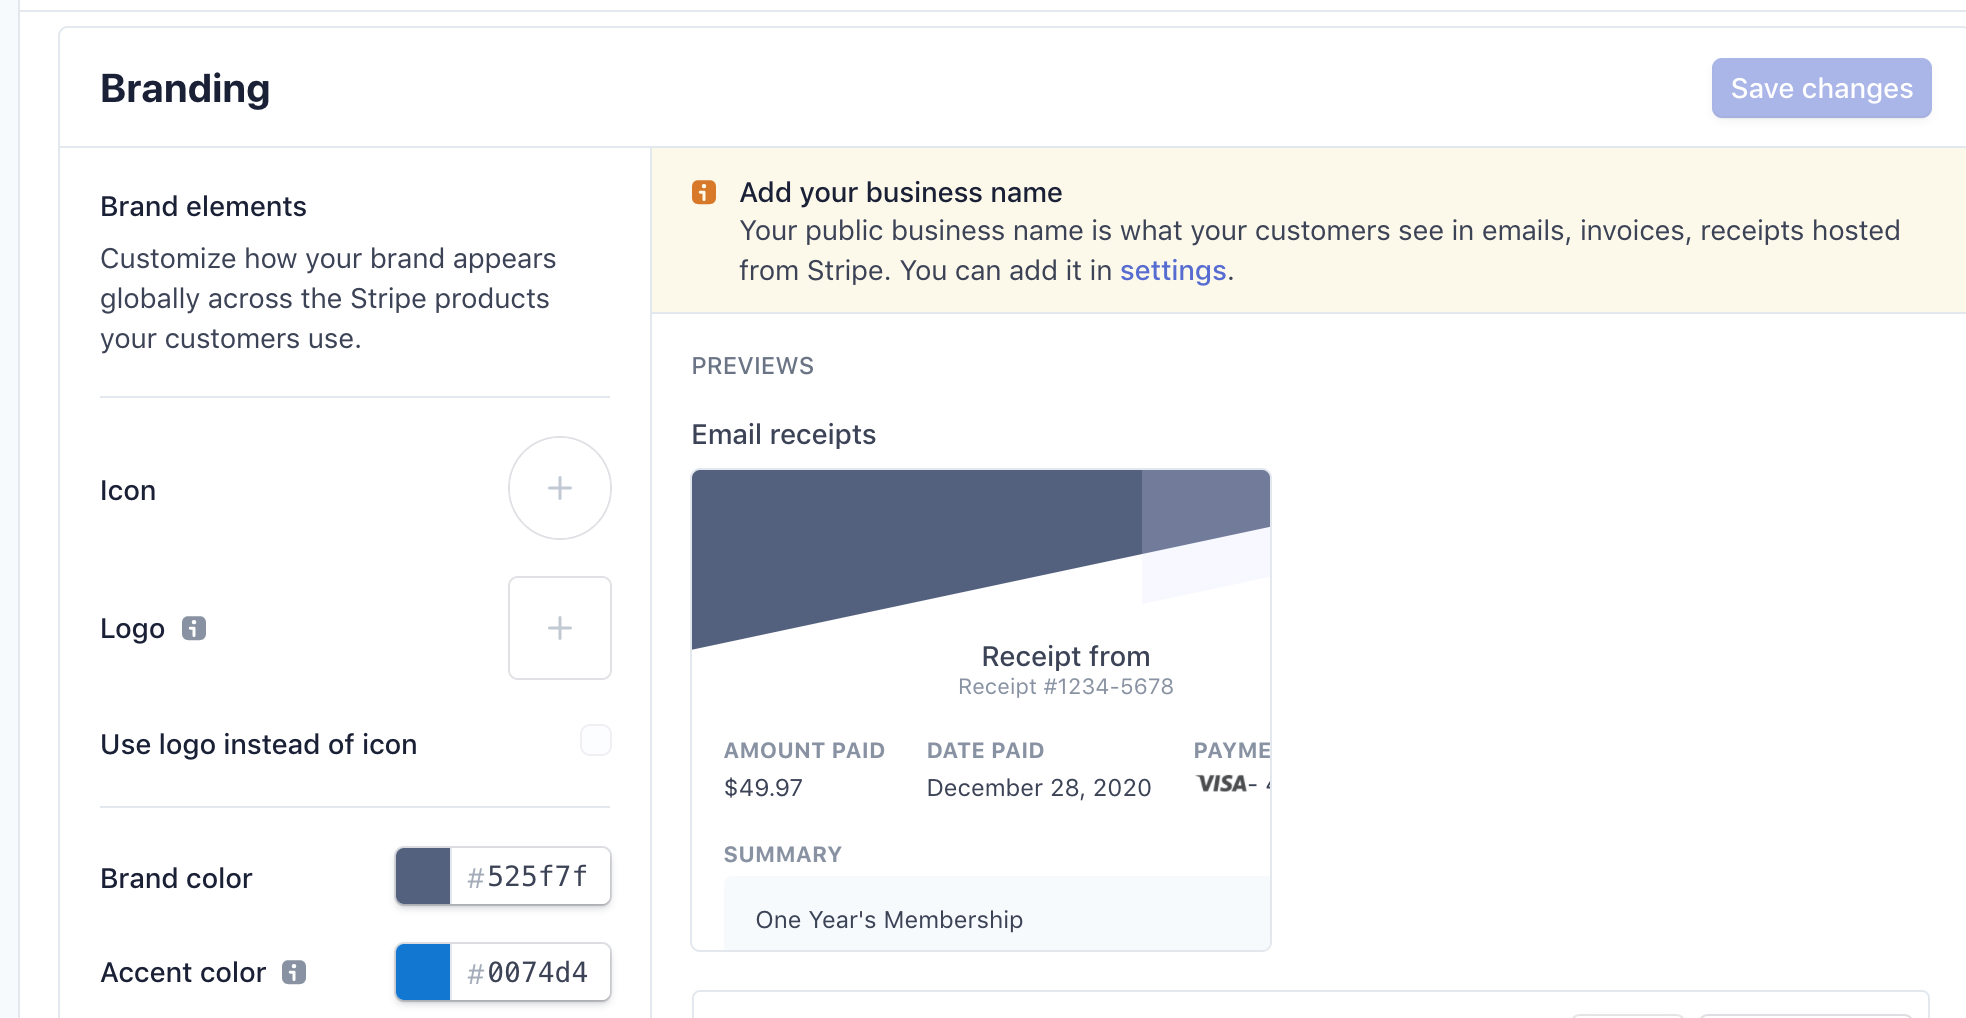
Click the Save changes button once you've completed customizing the template.
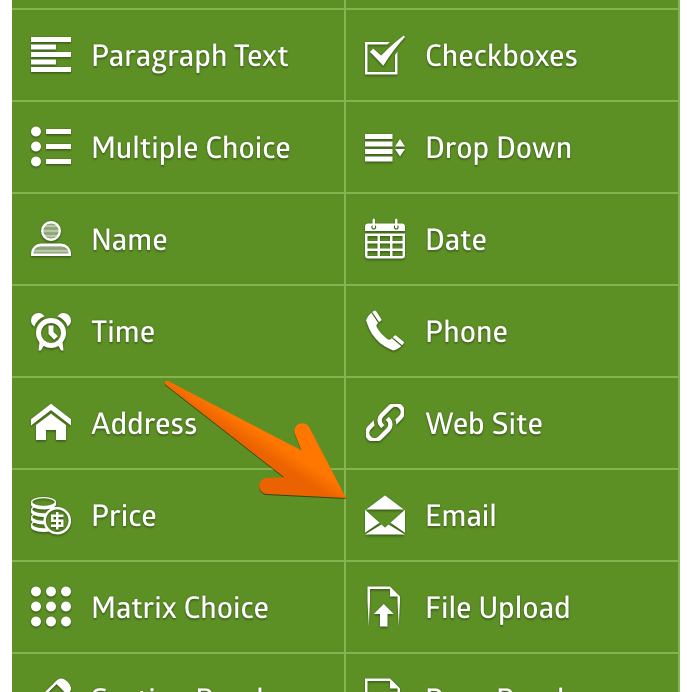
5. Add an email field to your form
Login to your MachForm panel, edit your form, and add an Email field to your form. If your form already has an email field, you can skip this step.
6. Configure payment setting
Go to your form's payment setting page and turn on the Enable Stripe Email Receipts option under the Payment Options section.
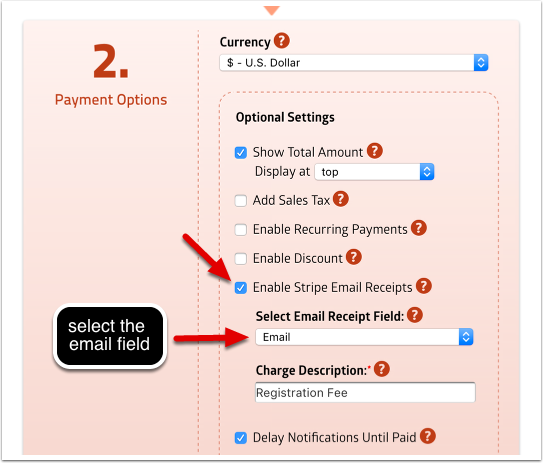
Click the Select Email Receipt Field dropdown and choose the email field you've added previously. This way, the receipt will be sent to the email address entered by the client on your form.
Under Charge Description, enter a descriptive name for the charge being included in the email receipt.
Save your settings and test the receipt functionality by making a real/live payment on your form, since Stripe DOESN'T send email receipts in Test Mode.